You can fix many squeaky floors without removing carpet, hardwood, or other existing flooring. Depending on where the noise comes from, the solution might be as simple as applying dry lubricant between floorboards, tightening loose boards with special screws, or securing the subfloor from underneath.
The important part is finding out what is moving.
I’ve always considered squeaky floors one of those home maintenance problems where the noise can make the repair seem much bigger than it actually is. A loose connection between two pieces of wood can be remarkably loud, yet the fix might cost less than $30.
Of course, not every squeak is harmless. A floor that also feels soft, sags, or shows signs of water damage deserves a closer look.
Here’s how to identify the problem and choose a repair that doesn’t involve tearing up your flooring.
Find the Exact Location Before Trying Any Repair
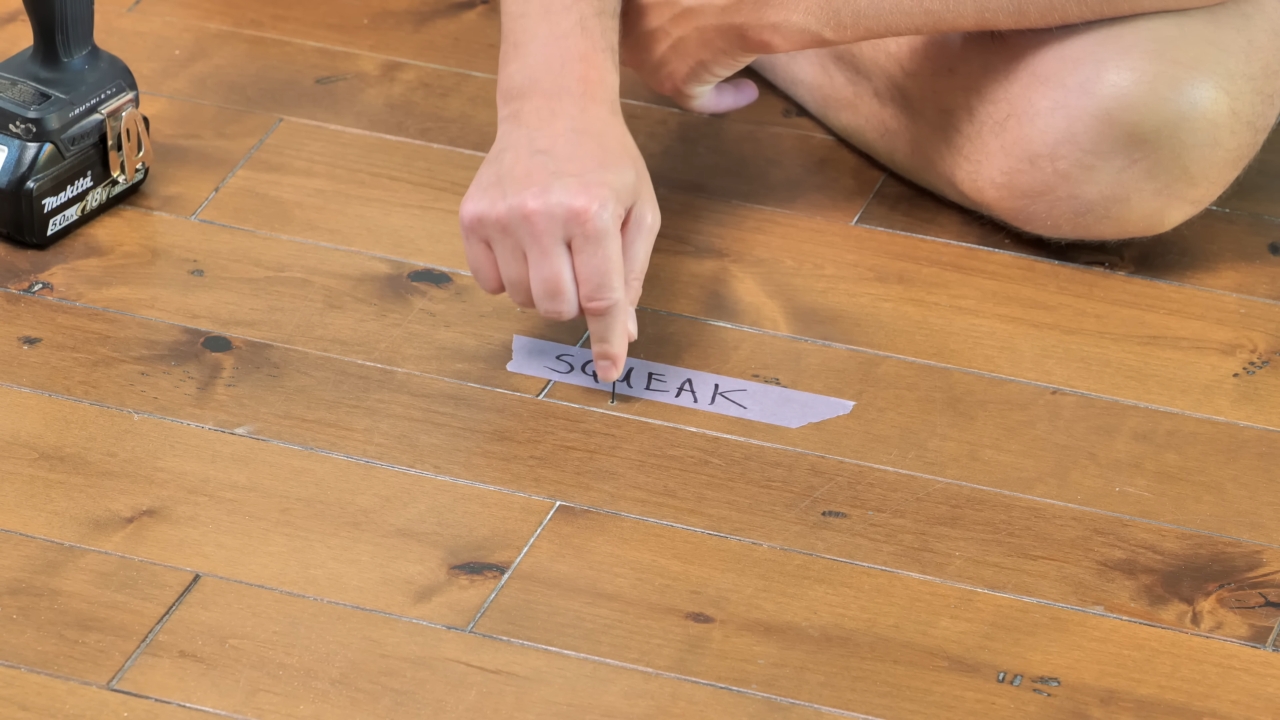
Start by walking slowly across the noisy area. Step on individual boards or small sections of carpet and identify exactly where the sound occurs.
Mark the spots with painter’s tape.
Next, pay attention to how the floor responds:
- Noise between two hardwood boards: Friction between their edges could be responsible.
- Noise accompanied by slight downward movement: A loose connection to the subfloor or joists is more likely.
- Squeaking across a large area: Multiple fasteners, inadequate support, or installation problems could be involved.
- Noise that changes seasonally: Indoor humidity deserves attention.
If you have access to an unfinished basement or crawl space, ask someone to walk across the floor above as you listen and watch from underneath.
You might spot a small gap opening and closing between a joist and the subfloor.
I wouldn’t buy repair materials until doing this inspection. Fixing the wrong layer of flooring can leave you with the same squeak and a few unnecessary screw holes.
1. Apply Dry Lubricant Between Hardwood Floorboards
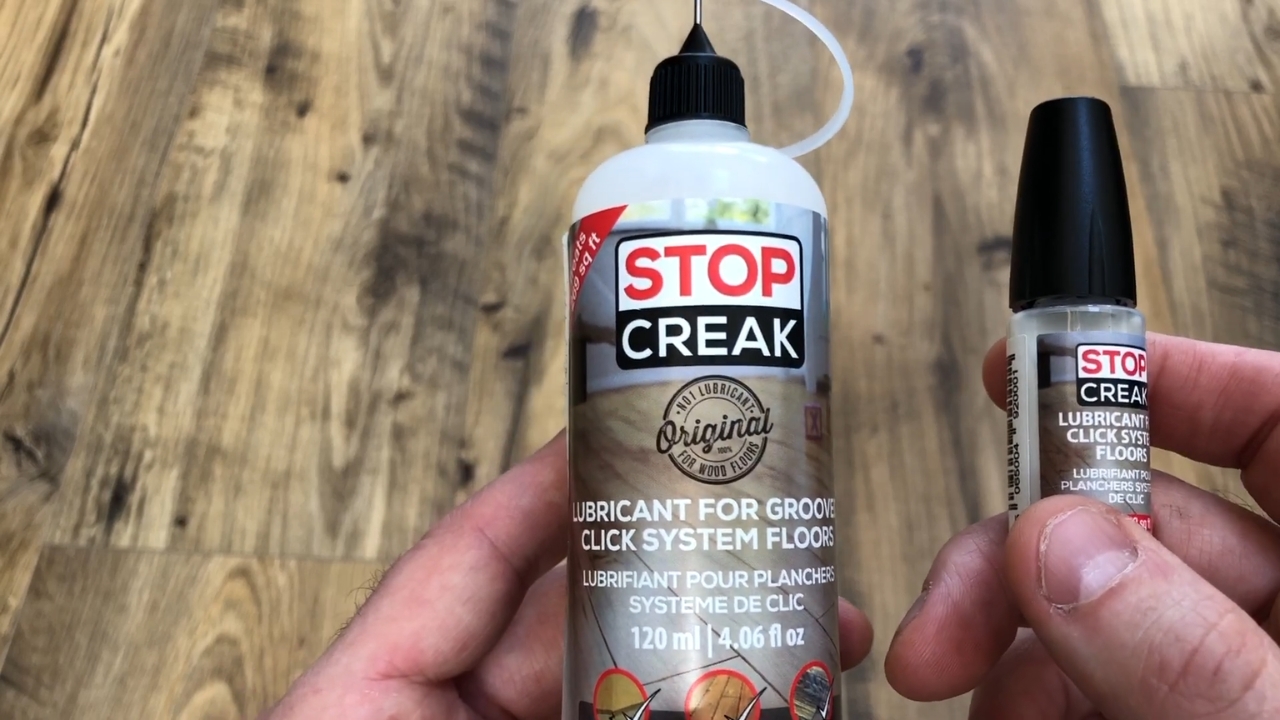
Best for: Minor squeaks caused by floorboards rubbing together.
For a small squeak between hardwood boards, a little dry powdered lubricant can sometimes reduce the friction.
Here’s how to try it:
- Clean the affected floorboard joints.
- Apply a very small amount of flooring-compatible dry powder into the gap.
- Work it into the joint using a soft brush.
- Walk over the area several times.
- Remove any remaining powder from the surface.
A simple repair demonstrated by This Old House uses powder between boards to quiet minor squeaks.
Check the flooring manufacturer’s care instructions before applying anything, particularly on specialty finishes. Avoid liquids, oils, or excessive powder that could stain the floor or collect in joints.
My view: This is worth trying when the squeak clearly comes from two boards rubbing together. But it is a friction treatment, not a structural repair.
If a board is moving because its fasteners are loose, powder won’t secure it.
2. Use Special Screws to Fix Squeaky Hardwood Floors
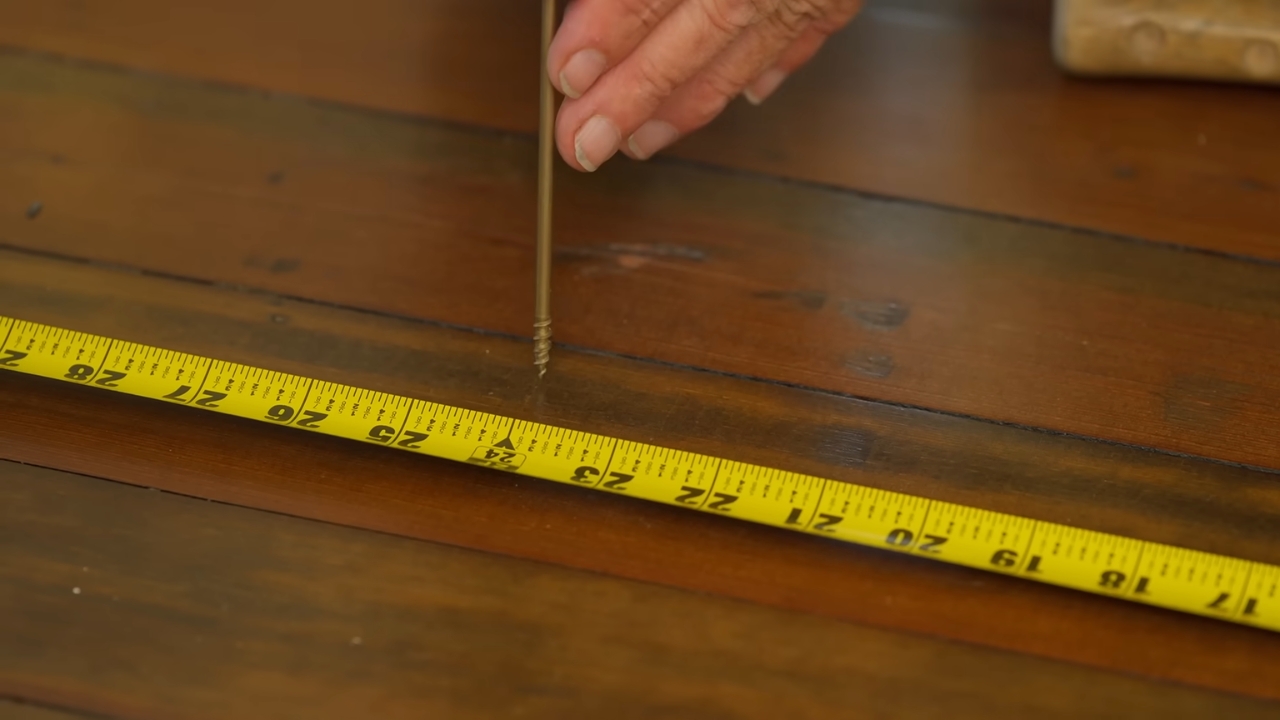
Best for: Loose solid hardwood boards with no access from underneath.
When a hardwood board moves against its subfloor, securing it with screws can provide a longer-lasting solution.
Specialized breakaway screws are useful because their heads snap off slightly below the flooring surface.
How to Do It
- Locate the exact squeaky board and confirm how the floor is constructed.
- Check for plumbing, electrical wiring, or radiant heating beneath the repair location.
- Select a screw kit suitable for the flooring thickness and construction.
- Use the included depth-control fixture to drive the screw into the appropriate supporting material.
- Break off the screw head as instructed.
- Conceal the small remaining hole with color-matched wood filler or a wax repair stick.
The technique is described in this hardwood floor repair demonstration.
I prefer a proper fastening repair when the problem is obvious movement. Once you stop the board from shifting, you’re addressing what produces the noise rather than trying to quiet it temporarily.
However, I would be particularly cautious with expensive or historic hardwood floors. A badly positioned screw or mismatched filler can create a more noticeable defect than the original squeak.
3. Fix Squeaky Floors Through Carpet Without Pulling It Up
Best for: Carpeted floors with loose subfloor-to-joist connections.
Carpet makes diagnosis harder because it hides the floorboards and subfloor, but it doesn’t necessarily make repairs expensive.
Specialized carpet squeak-repair kits use screws that pass through the carpeting and fasten the subfloor to the joists below.
Step-by-Step Repair
- Find the squeaky location and identify the floor joists using the kit’s locating method.
- Confirm the joist locations rather than assuming standard spacing.
- Place the kit’s depth-control fixture on the carpet above a joist.
- Drive the special screw through the carpet, padding, and subfloor into the joist.
- Use the kit’s mechanism to break off the screw head.
- Repeat where necessary, following the manufacturer’s spacing instructions.
The screw secures the subfloor while the broken-off head remains below the walking surface.
A detailed carpet squeak repair tutorial explains the method.
Avoid driving ordinary screws through carpet. They can catch fibers, damage the carpet, or leave exposed hardware.
From a cost perspective, I find this repair particularly attractive. Pulling up perfectly serviceable carpet to correct one loose subfloor connection is an expense I’d rather avoid.
4. Repair Squeaky Floors From Below Using Wood Shims
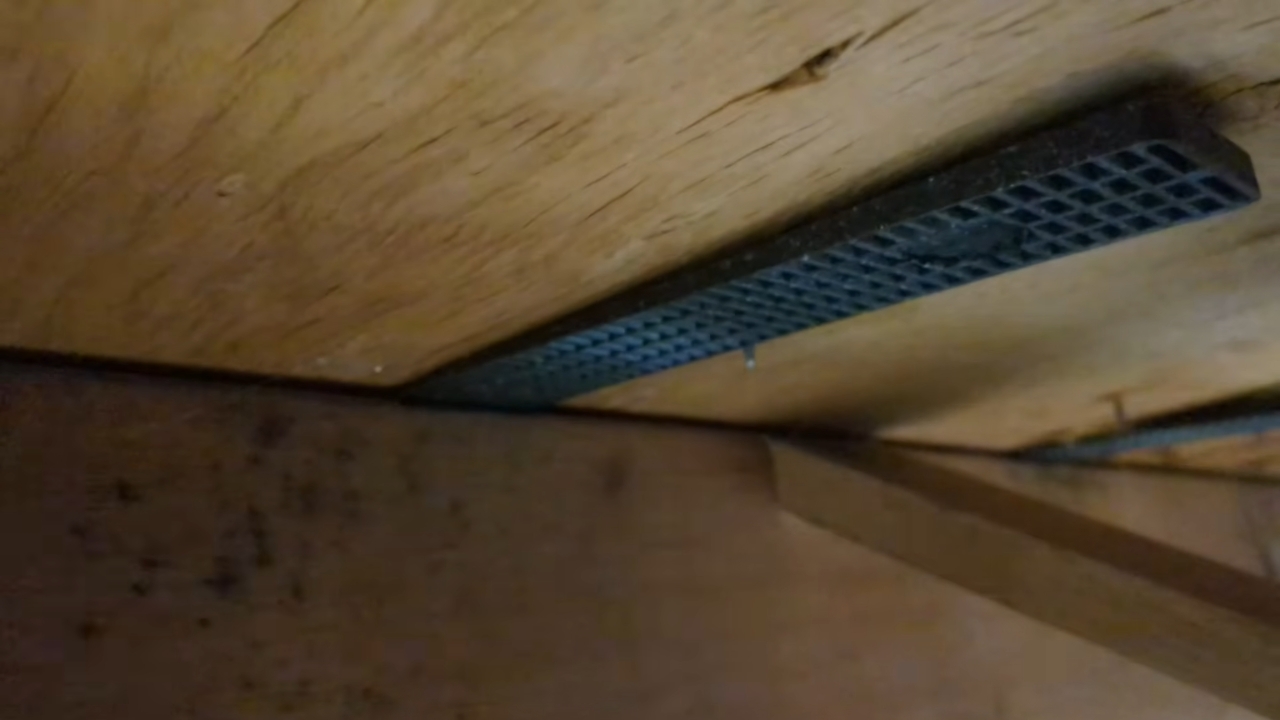
Best for: Accessible basements or crawl spaces with gaps above floor joists.
If you can reach the underside of the floor, this is often my preferred repair method. You can inspect the actual problem without drilling through finished flooring.
Have someone walk over the squeaky spot while you look for movement between the subfloor and joist.
If you find a small gap:
- Select a thin wooden shim that fits the opening.
- Apply carpenter’s glue to the shim.
- Gently slide it between the joist and subfloor.
- Stop when it fits snugly. Don’t hammer it tightly into place.
- Let the glue cure according to its instructions.
For loose connections without a suitable gap, a purpose-made subfloor bracket can help pull the materials together. Additional blocking or screws may also be appropriate, depending on the construction.
Be careful with screw length. Fasteners driven from underneath must not penetrate the finished flooring, and hidden utilities must be located first.
I’ve always liked repairs that preserve materials already in good condition. A small shim can correct a connection problem without creating additional finishing work upstairs.
5. Control Indoor Humidity to Reduce Seasonal Squeaks
If hardwood floors squeak more during certain seasons, moisture fluctuations may be contributing to the problem.
The National Wood Flooring Association recommends maintaining indoor relative humidity between 30% and 50%, along with temperatures between 60°F and 80°F.
Humidity, Hardwoods and Homes – Protecting your Investment: https://t.co/GTrIFmHk0n Proper #humidity is critical for your #hardwood #flooring, just as for #comfort and #health. #wood #moisture #humidification #dehumidification #greenbuilding #building #construction #HVAC #homes https://t.co/13AOr414ce
— Massachusetts Green Building (@MAGreenBuilding) June 22, 2026
A hygrometer can help you monitor indoor humidity. Depending on conditions, a humidifier or dehumidifier can help stabilize it.
I wouldn’t expect humidity control to repair a loose nail or an installation defect. However, it can reduce seasonal wood movement and help prevent additional gaps from developing.
What About Laminate, Vinyl, or Tile Flooring?
These surfaces require a different approach.
Many laminate and luxury vinyl plank floors use floating installation systems. Driving screws through them can restrict normal movement or damage their locking joints.
The laminate installation guide from This Old House explains why subfloor flatness and underlayment are important for limiting movement and creaking.
For floating floors, inspect perimeter clearance and accessible subfloor connections first. Repairing from underneath is preferable when possible.
For tile, cracking grout, moving tiles, or repeated squeaks can indicate problems beneath the finish. I’d have those conditions evaluated before attempting any surface repair.
How Much Does It Cost to Fix Squeaky Floors?
Most DIY squeaky floor repairs require relatively inexpensive materials, provided the subfloor and supporting structure are in good condition.
The following are illustrative material costs, excluding tools you may need to purchase:
| Repair Method | Estimated Cost |
| Minor dry-lubricant treatment | Under $10 |
| Hardwood breakaway-screw repair | 10–30 |
| Carpet squeak-repair kit | 25–30 |
| Wood shims and adhesive | Generally under $20 for a small repair |
These are approximate material budgets, not contractor quotes. This Old House lists 10–30 for a basic hardwood repair and 25–30 for an average carpeted-room repair using a specialized kit.
Labor, access, and underlying damage can make professional work considerably more expensive.
For perspective, I’ve written about the growing share of homeowners without a maintenance budget. Small preventive and corrective repairs deserve a place in that budget, even when they aren’t urgent.
When Should You Call a Professional?
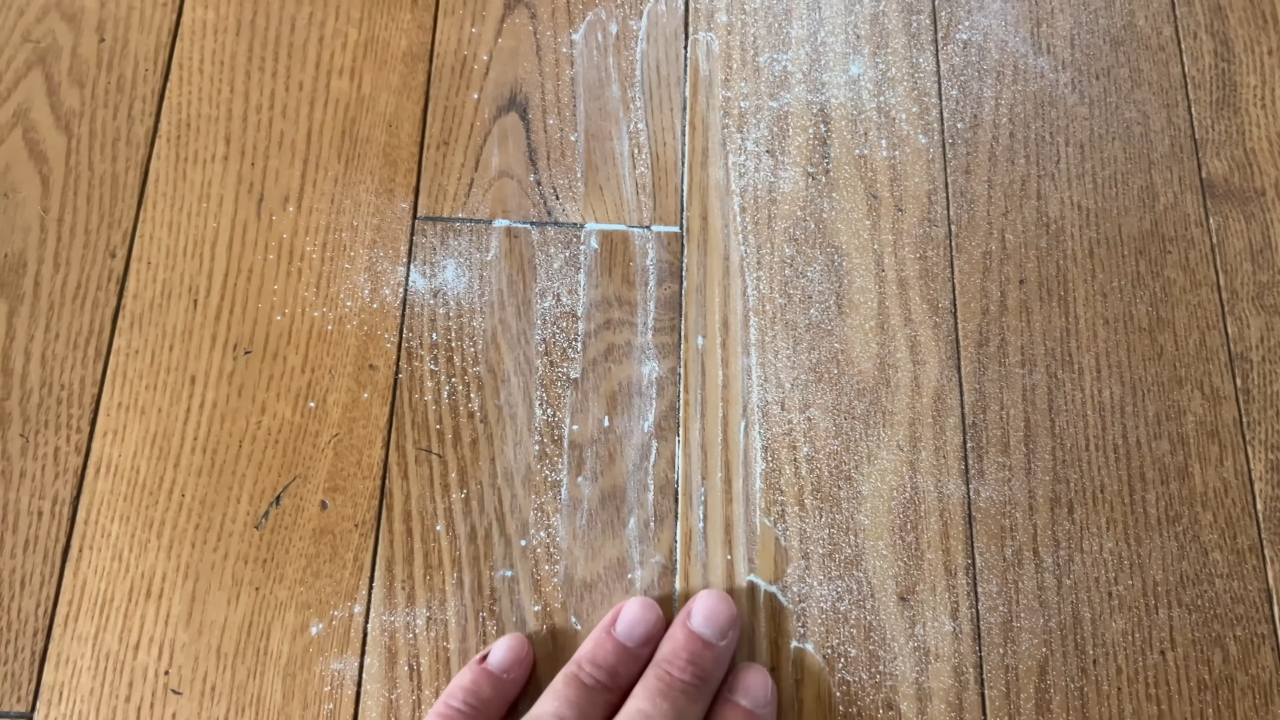
A squeak alone usually isn’t evidence of serious structural damage. However, certain symptoms deserve more attention.
Consider calling a flooring contractor or qualified structural professional when:
- The floor feels unusually soft, springy, or unstable.
- There’s visible sagging or significant movement.
- The squeak develops after water damage.
- Multiple areas become noisy over a short period.
- Previous repairs haven’t corrected the problem.
The EPA’s moisture guidance also emphasizes correcting water problems rather than simply treating their visible effects.
I would never ignore a soft floor just because the squeak itself seems minor. Repairing loose fasteners is one thing; covering up deteriorating subflooring is quite another.
And when professional work is needed, obtain a written scope before approving the repair. As I’ve discussed in my analysis of professional projects exceeding their budgets, costs can rise when the original estimate doesn’t account for everything involved.
The Bottom Line
@ken.c.long 🧼💦 Fix your Squeaky Floors with soap and water #tips #flooring #hack #hometips ♬ original sound – Ken Long | Home DIY Expert
Most localized squeaky floors can be repaired without removing the finished flooring. Dry lubricant helps with minor board friction, specialized screws secure loose flooring, and wood shims or brackets correct certain gaps from underneath.
My advice is to begin with the least invasive method that addresses the actual cause.
I’ve never believed that every household problem requires a substantial renovation budget. A careful diagnosis and a few inexpensive materials can sometimes accomplish more than an elaborate repair.
The exception is when noise comes with sagging, moisture damage, or noticeable structural movement. At that point, identifying the underlying problem matters far more than making the floor quiet.